Installing Windows 10 IoT on Raspberry Pi 2 from Windows 8
So you have a Raspberry Pi 2 and want to install Windows 10 IoT on it but don’t have a machine running Windows 10? No problem. These instructions will guide you through how to accomplish this.
It is important to note that this is not the “official” way to install it. These instructions allow you to do the install from a machine running Windows 7 or Windows 8/8.1.
With that said continue at your own risk! 🙂
Tools I am using today
- Raspberry Pi2
- Microsoft Surface Pro 3
- Sandisk 64gb Class 10 MicroSD Card
- Targus USB SD Card Reader
- Even though the Surface Pro 3 has a MicroSD slot, I had to use the external reader for the software used in the install to recognize the card properly
Installation Instructions
- Login to https://connect.microsoft.com using your Microsoft Account
- Go to Directory -> Windows Embedded -> Join “Windows Developer for IoT” program
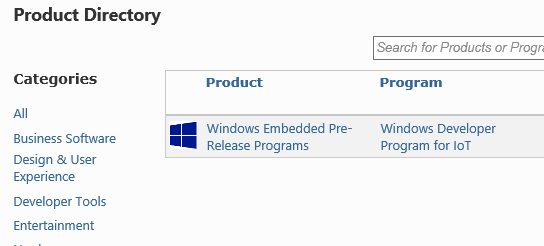
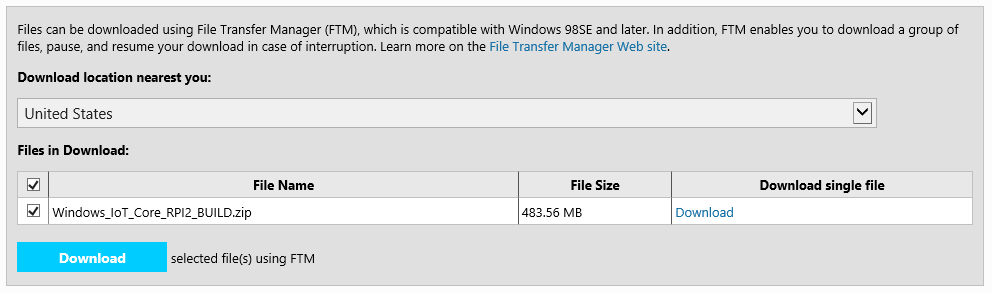
- Once joined, go to downloads and download Windows 10 IoT Core Insider Preview Image for Raspberry Pi 2
- At the time of this post the latest build is 5/12/2015
- From here you can download the zip directly or use the Microsoft File Transfer Manager
- We now need to download three more utilities so that we can do the install from Windows 8 or Windows 7
- SD Formatter – I always format my SD card before starting
- ImgMount – This lets you mount the image and create a VHD from the mounted image.
- WinImage – This program lets you write the VHD to an eternal drive
- I took everything and copied to one folder on my machine to make things easier. In the example I named it c:\w10iot
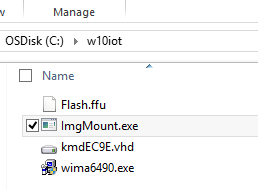
- Extract the Windows 10 IoT zip file once downloaded
- The only file we are going to work with today is Flash.ffu
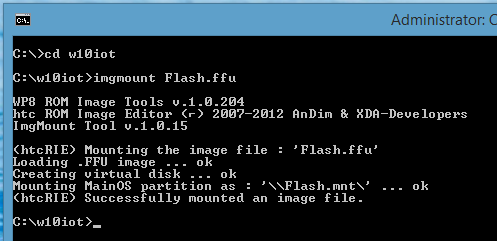
- Launch an administrative command prompt and browse to c:\w10iot
- Run the following command “imgmount flash.ffu”
- Windows+X and go to “Computer Management”
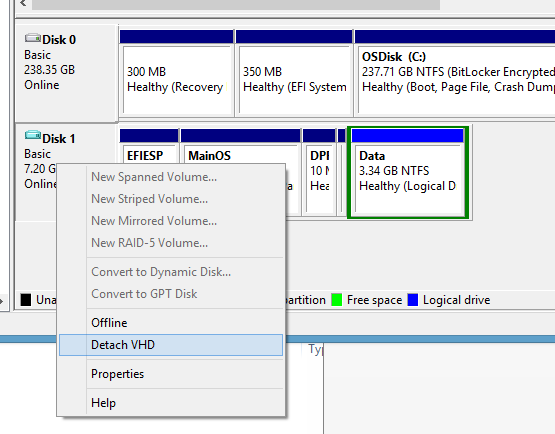
- Go to Disk Management
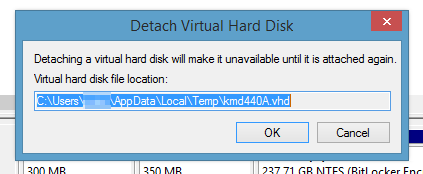
- You should see an additional drive, right click on it and “detach it”
- Make sure to note the folder where the VHD is located
- I copied and pasted this into a notepad
- Move the file into your c:\w10iot folder
- Go to Disk Management
- Install WinImage
- No license code is needed. It comes with a free 30 day trial. Of course if you like the software I encourage you to purchase it!
- Plug your MicroSD card in
- Again; I do this using the reader
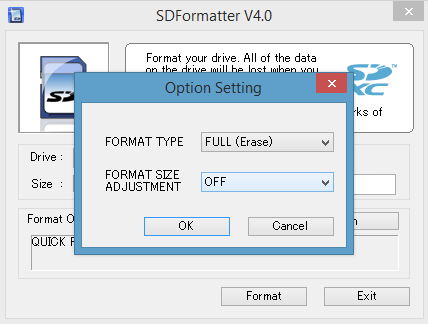
- Install SD Formatter and format your card
- I use the following options
- Format Type – FULL (Erase)
- Format Size Adjustment – OFF
- I use the following options
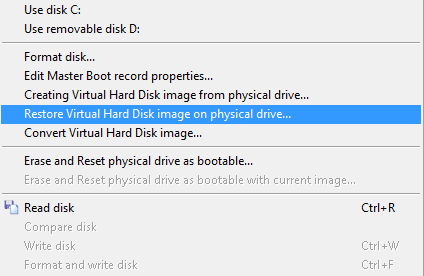
- Launch WinImage (administrator)
- Go to Disk -> Restore Virtual Hard Disk image on Physical Drive
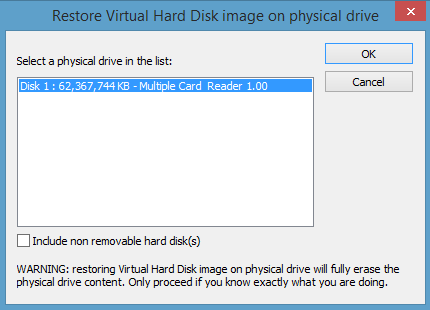
- Choose your MicroSD card drive
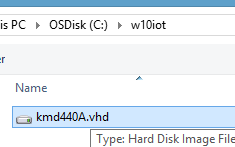
- Select your VHD
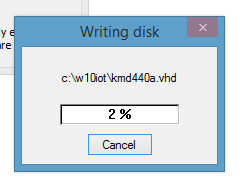
- It will warn you and then start the process
- Depending on your hardware it should take about 5-10 minutes
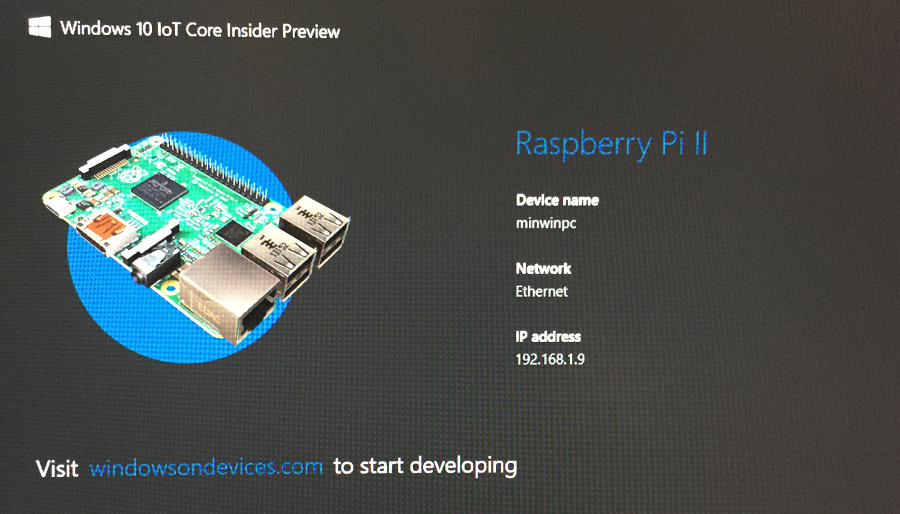
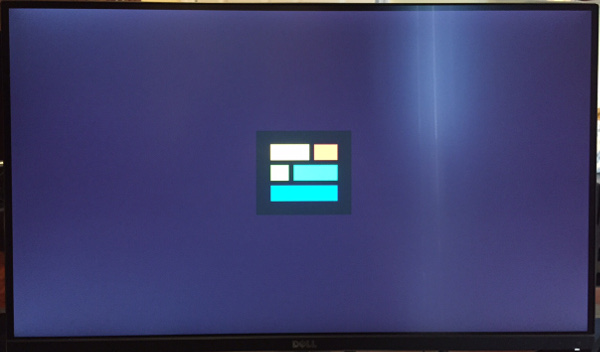
- Once its done place the MicroSD card in your Raspberry Pi2 and boot it up!
- The install will take a while.
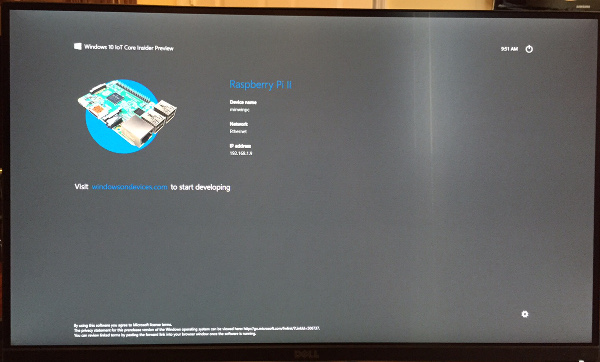
- That’s it! Happy developing!
This post is licensed under CC BY 4.0 by the author.